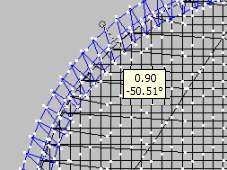
Drag nodes When your design is selected (clicked on), there are 8 black nodes around it. Click a corner node and drag to proportionally size the design.Click a middle node on top or bottom to change height only.Click a middle node on right or left to change width only.
Use percentage In the tool pane, use the percentage inputs to choose the size. Use the lock icon to size proportionally. To size only in height or width, click to unlock the lock icon.
Use measurements In the tool pane, choose millimeters or inches. Use the lock icon to size proportionally, and enter the height or width you would like. To change height or width only, unlock the lock icon before entering height or width measurements.
Essentials re-calculates the stitches for the new design size. Essentials allows you to size to 200% larger than original size, or 50% smaller than original size. There is no guarantee that the results will stitch well, so do use common sense and testing. Essentials also remembers your original size so that you can return to the original if you need to.


 Embrilliance Essentials